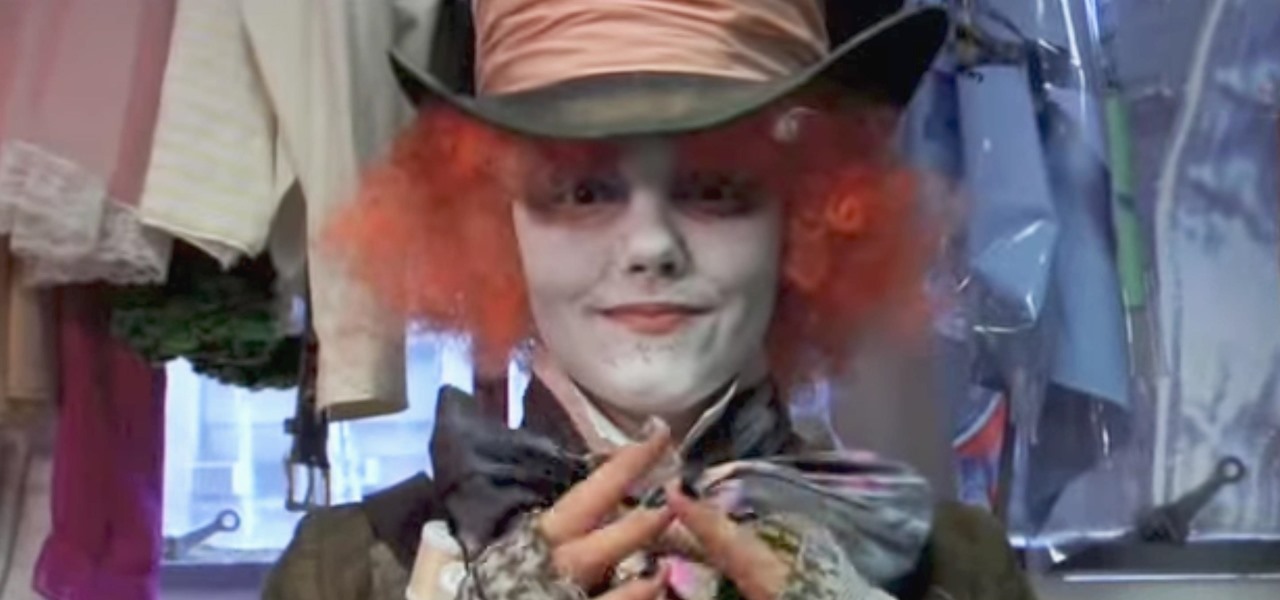

The Mad Hatter from Tim Burton's Alice in Wonderland not only makes a great costume but a great project. The hour-glass shaped hat, the striped pants, the fingerless gloves, and the Hatter's signature scarf are the most important components in this costume. If you're fairly skilled with costuming already, this shouldn't take more than four or so hours.
ThreadBanger has some creative instructions in their video tutorial, but we've broken down their ambitious — and impressive — project into bite-sized pieces for a costume that will go down swimmingly at your next wacky tea party. You'll find their full video guide at the bottom of this costume how-to, but you can also search for ThreadBanger on WonderHowTo for more fashion tutorial videos from wife and husband team Corrine Leigh and Rob Czar.
Materials
- poster board
- tape
- glue gun
- two different thick fabrics, preferably one plain and one patterned
- tailor's chalk
- thick wire
- sewing kit or machine
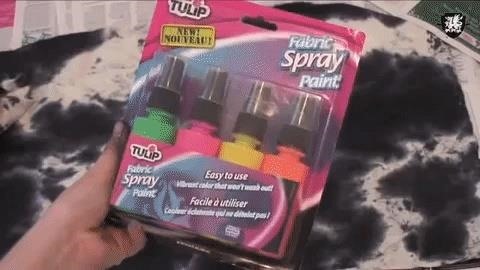
- spray paint (dark green, black, and metallic gold suggested)
- thick black marker
- glossy white cardstock
- clown wig
Step 1: Measure the Crown
You will need a piece of poster board at least ten inches tall. For the length, make sure that when you roll it into a cylinder, it fits comfortably on your head with enough room to accommodate a wig underneath. Tape along the seam. This will be the framework for the crown of your hat.
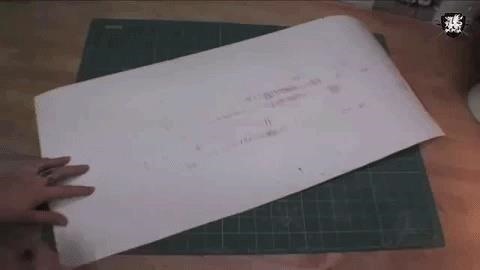
Step 2: Measure the Brim
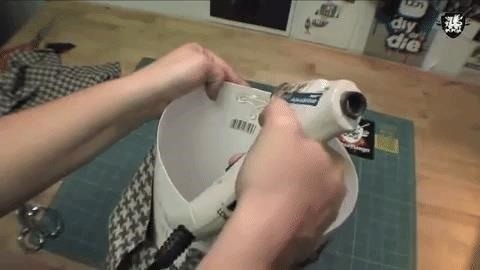
Draw a circle on another piece of poster board that has a six-inch radius. Cut out the circle and place the crown on top of it, directly in the center. Tape it together at two points that are directly opposite each other, then glue the two pieces together all the way around the hat at the seam. This is the "top" of your top hat.
Step 3: Attach Fabric to Crown
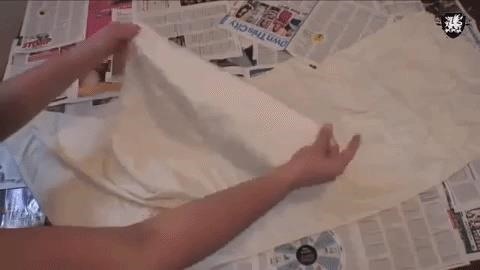
Check to make sure that your fabric is wide enough to go all the way around the top of the hat and long enough to reach from the top to the inside of your opening, with a little extra to spare both ways. Hot glue your fabric all along the edge of the top of the hat. Ensure that the end overlaps a little with the beginning so it looks clean.
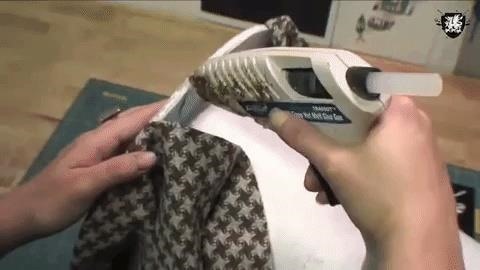
Stretch the fabric taut until it reaches the inside of the hat's opening, and hot glue it to the inside of the hat, bit by bit. As Corrine says in the video, "stretch and glue, stretch and glue."
Step 4: Attach Fabric to Top
Cut out a piece of the same fabric the same size as the top, and glue it to the top. Trim off any excess neatly.
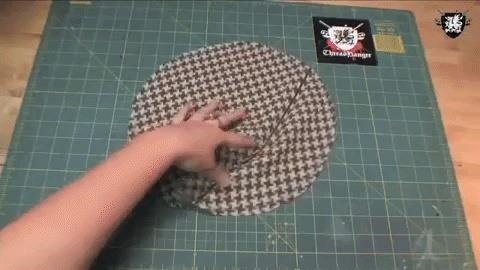
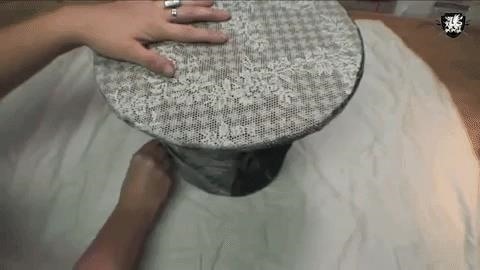
If you want, you can repeat steps three and four with another layer of lace over your fabric to give your hat a richer, more textured look.
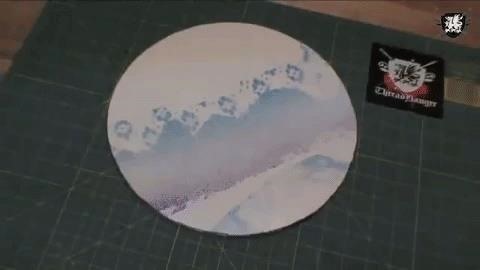
Step 5: Make the Brim
Place more fabric underneath the hat (opening-side down), and trace around the opening using tailor's chalk. Cut the middle out of that circle, and cut slits from the hole to the circle.
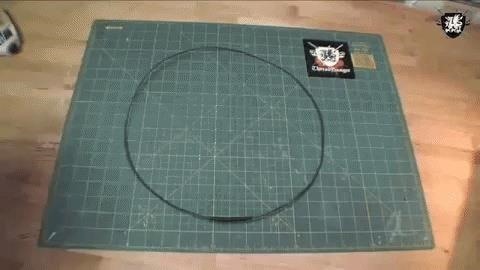
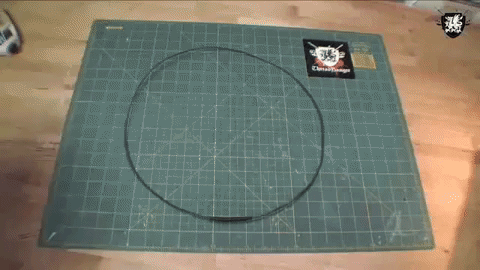
Bend a length of thick wire into a circle whose radius is about three inches bigger than your traced circle. Tape the wire so it forms a complete loop. Around the traced circle, cut a rough circle that's bigger than the wire-loop.

Hot glue the slits to the inside of the hat's opening.

Drape the hat (opening-side down) over the wire-loop, and pin the fabric around the wire-loop, stretching the fabric as taut as you can while doing so.
Sew completely around the brim, and then cut off any excess fabric from the bottom.
Step 6: Finishing Flourishes
You're almost there! Go over the entire hat with different colours of spray paint. In the ThreadBanger video, Corrine uses dark green, black, and metallic gold.
Cut a hat band for your costume from your plain fabric, sewing the ends together to form a loop that will wrap snugly right above the brim of the hat.

Make the Hatter's "signature size card" by writing on a piece of white cardstock and burning the edges for a cool finish.
Glue random buttons and baubles to thick pins or metal rods for vintage-looking hat pins. Once the hat is dry, don your wig, add the hat pins, the signature size card, and some ostrich feathers, and you're all ready for Wonderland!

The Rest of the Mad Hatter Ensemble
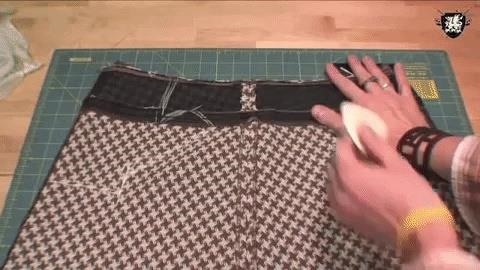
You can probably get most of the remaining items from Goodwill to complete the look, and ThreadBanger has provided some DIY additions to really sell the Mad Hatter costume. First up, you can sew some lace onto the lapels of an old blazer (Corrine suggests a corduroy one) before spray painting the whole thing with different shades. You can then embellish the sleeves with a fancy trim, too.

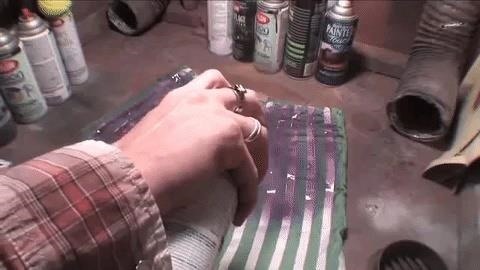
Second, you can use masking tape as a stencil to spray pinstripes onto a pair of thrifted pants (if they don't come in an outlandish color, dye them).
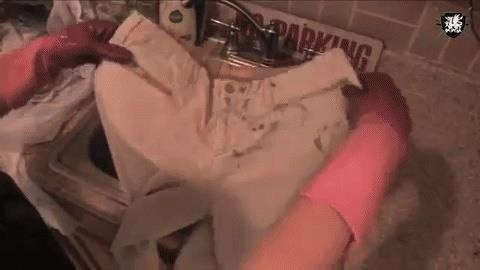
Third, you can use your chalk to draw around your hands on your leftover fabric so you can cut yourself some fingerless gloves. Fourth, for your psychedelic cravat, take another piece of old, used fabric and dye it unevenly with different colors. Corrine went with black for most of it, then filled in the remaining spots with yellow and pink.
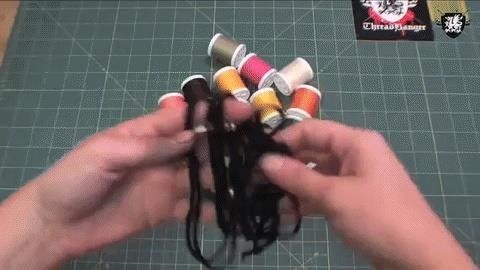
Fifth, you can make your own multi-colored thread-bandolier by peeling the labels off a bunch of multi-colored thread spools before tying them together with black string. You can wear the string itself, or sew it onto a leather belt cut in half.

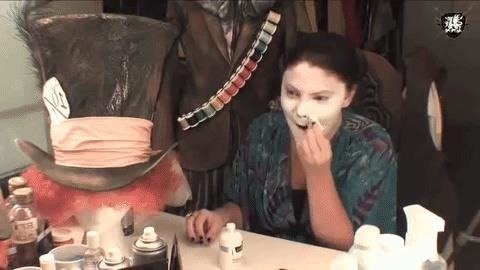
For the finishing touch, smear on some thick white face paint, purple eyeshadow for your eyelids, and then stick some of the hair from your wig onto your eyebrows (use a very weak adhesive, for obvious and painful reasons)!
That's It!
This is one spectacular costume, but make sure you give yourself enough time before your event (Corrine suggests four hours). Unless you're dressing up as the White Rabbit dressing up as the Mad Hatter, and you want to stay in character, that is. ThreadBanger's tutorial is embedded below if you need to refer to it as you make your costume.
You could also probably tell, but Johnny Depp's Mad Hatter costume from the newer Alice in Wonderland: Through the Looking Glass film isn't so much different than this version, so a few minor tweaks is all it will probably take if you like that version better.
Did you manage to outdo ThreadBanger's Mad Hatter costume with your own do-it-yourself touches, or did you adapt some techniques and ideas for your own costumes? Tell us in the comments below!
Just updated your iPhone? You'll find new emoji, enhanced security, podcast transcripts, Apple Cash virtual numbers, and other useful features. There are even new additions hidden within Safari. Find out what's new and changed on your iPhone with the iOS 17.4 update.


Be the First to Comment
Share Your Thoughts